Here are the details of the Necron Lord that I painted for Relliks boy. He is the standard Necron Lord with resurrection orb and one of my favoured HQ's for the Necrons from a modelling point of view. A lot of that, I think, is because I do not like the Tomb Kings in space aspect of them. I was far more comfortable when they were effectively from terminator. That was a concept I could get behind.
Oh well, I doubt I will paint any more Necron (unless I get commissioned too - hint hint,lol) and it's not for my own army anyway

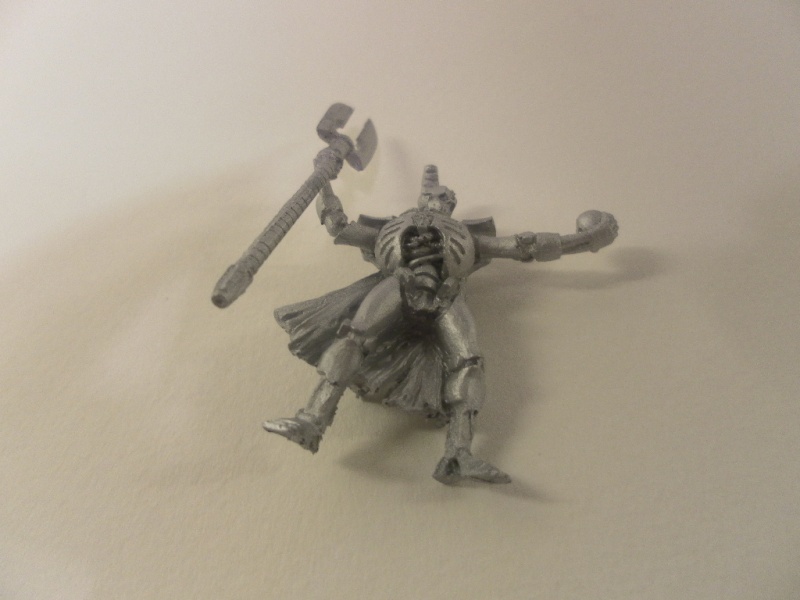
So to start the model I obviously had to unpack it. As with a lot of fine cast midels there are isues with it. There was some detail missing and a little bt of green stuff had to be used. Not to worry on the whole though as the cloak is designed to be a tattered old thing!
Here it is base painted silver. This was a £5 can from B&Q so was more than simple enough to get a solid coat.
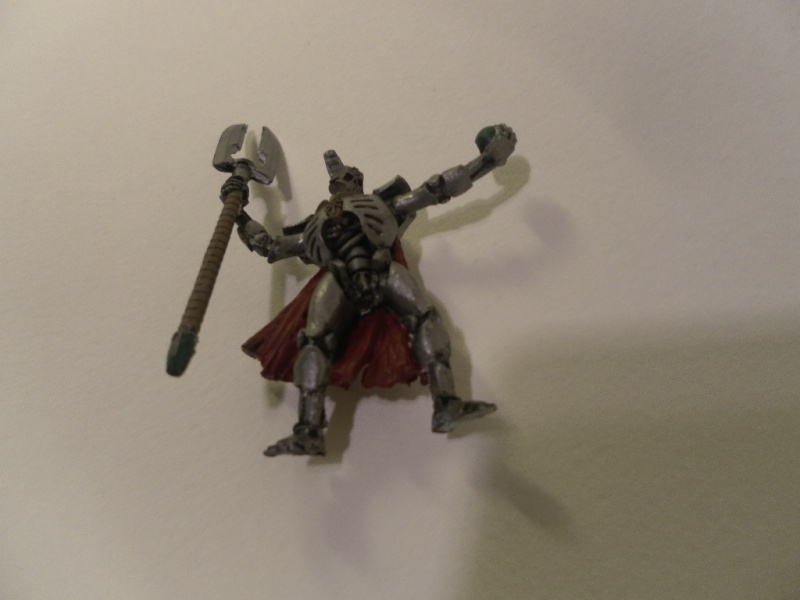
Next came the base colours. It is my opinion that a well base coated model often looks more interesting and decent than some more "fancy " models. That said I base coated the cloak in the old foundation red, the green in the old foundation green and the gold in the old foundation brown. Next I gave the whole thing a black wash.
I already like how this looks.
Next came a big step up:
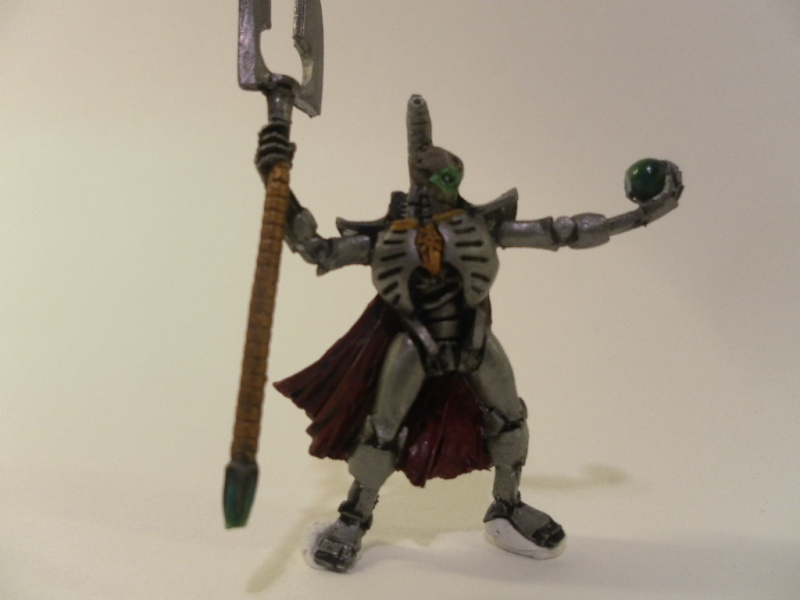
- the metal was painted bolt gun metal and then highlighted with the next two up. I paid particular attention to keeping out of the receses so as to create a deep look in the chest and the eyes. More "evil". The high light was quite generous as I image living metal to be a rather shiny surface compared so, say, a space marine armour painted over in a different colour. At this point the head is not done as I intend to experiment first and don't want to undo hard work!
- The gold was base coated in shining gold. I did not want this to be too bright, but definitely to be a direct contrast to the model. I gave this a brown wash to darken it slightly and then repainted the higher sections with the gold again. This was more challenging due to the angel of the pear and the base effect but I was happy as it went out.
- Next can the green and OSL. I thought I had taken a picture before this but I'm sorry that I didn't. The OSL is exaggerated hugely as I had not finished the head. This was quite a lot of fun to do and the tutorials were ll from Youtube, though I can't give credit where its due (probably BUYpainted though). The main thing to note is I only did it for the eyes. I did not do it for the staff nor resurrection Orb. I think this added something to the model as if he was activating the orb.
HINT OF THE DAY: TELL A STORY WITH EVERY MODEL!The green was done from dark angels green up to goblin green, snot green and a light green I do not recall. The final layer was that light green mixed with bleached bone. An important thing here is to accept that the area is mall and curbed - awkward in other words. I did do some blending and this was done with a feathering technique. A tiny amount of paint was added to the top of the sphere and were dragged down using clean water. The next colour was done leaving the last colour in sight. At the end of each colour a green wash was also added. I really believe this added a depth to the green
On with more details and the last feature point - the cloak!
Metal: highlighted with the brightest of my metals. Again it was generous. In hindsight I believe I should have feathered the metal now as the pictures show up the clear divide. Maybe a really thinned down black wash? Isn't hind sight a wonderful thing.
Gold - Highlighted with my lightest god. This shown up best on the collar. I then mixed a small amount of bright silver in to do edge high lighting. I was pleased with the results as I limited this to just the collar. Less is more and all that....
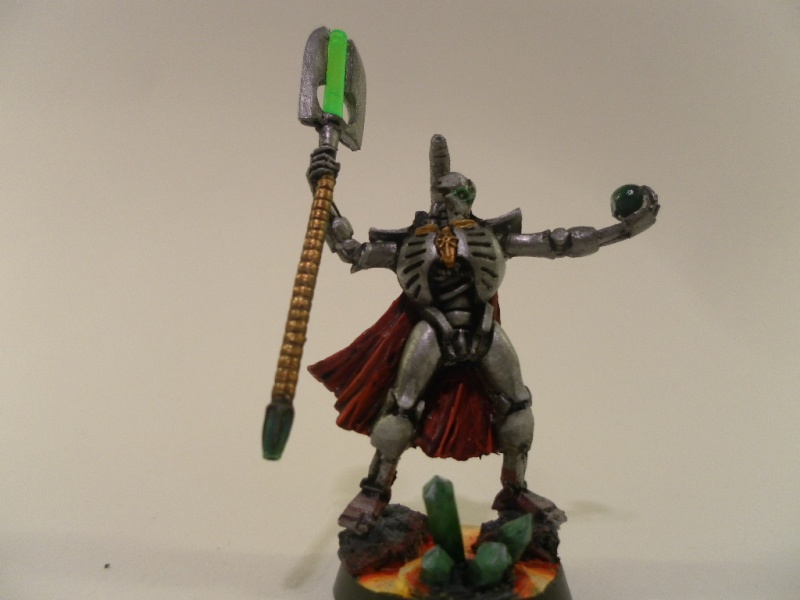
Green - I tidied up the head and limited the glow effect on from the eyes. I also added a white dot to the resurrection Orb. I know what your thinking - why is that in the green section? But again its the story. The eyes activating and something going on inside the ball.
Red - One of my favourite colours to paint. First layer is red scab, leaving the darkened areas from the initial was, then a 1:1 scab/blood red, then blood red, then the new wild rider orange. Put that with a red wash and your good to go!
Two things here - Watered down paints are great, but cloaks can be VERY awkward. Too much water and the colour goes into the deep areas we have already completed. The other thing is that the inside of the cloak is darker than the outside. The Necron Lord is in the way after all blocking some light....
I will do a tutorial or talk through the base another time, but I think the light really adds something to the model. I dry brushed a small deep red on the Necron model as well near the feet to show the glow from the heat. Hopefully its the subtle things that help the most.
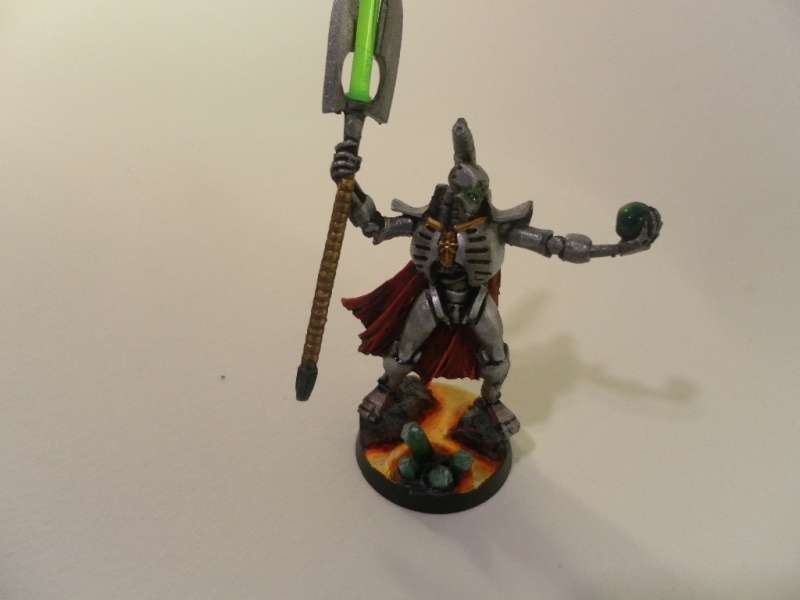
So here it is, the finished model and base! I hope you like it. Please let me know what you think and if there i anything about anything in particular that I have done that needs discussion!