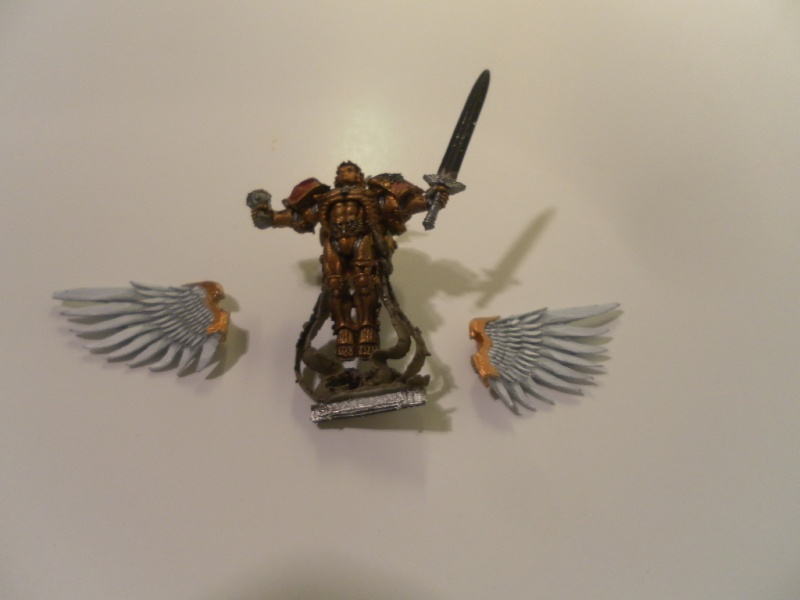
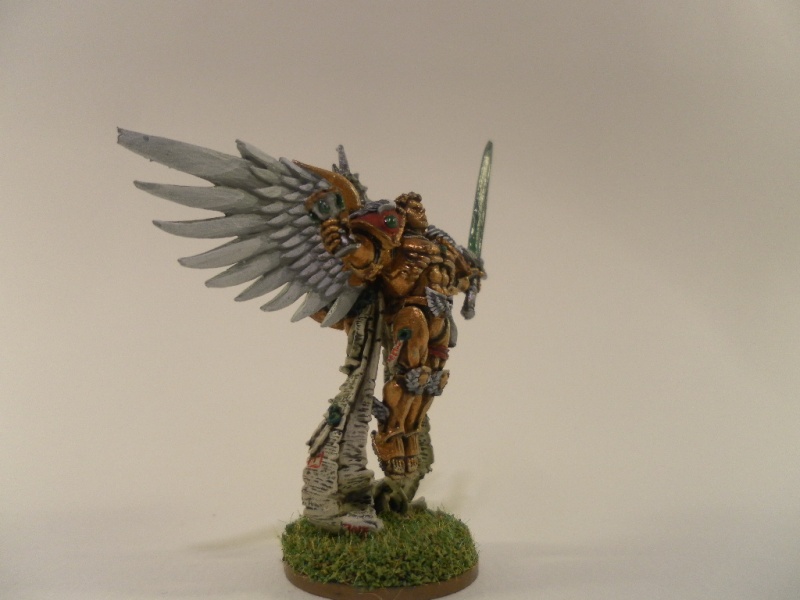
Here is a walk through that of what I did for the Sanguinor I gave to Stryph's boy. this was a metal model and it was really tough to paint but was so satisfying. I am comfortable with the job and perhaps a little bit proud too. Stryph certainly seemed to enjoy it

To start the model I cleaned and did what I could. Its metal which makes it harder but there we go. I decided to undercoat it white to try and get the best brightness possible.
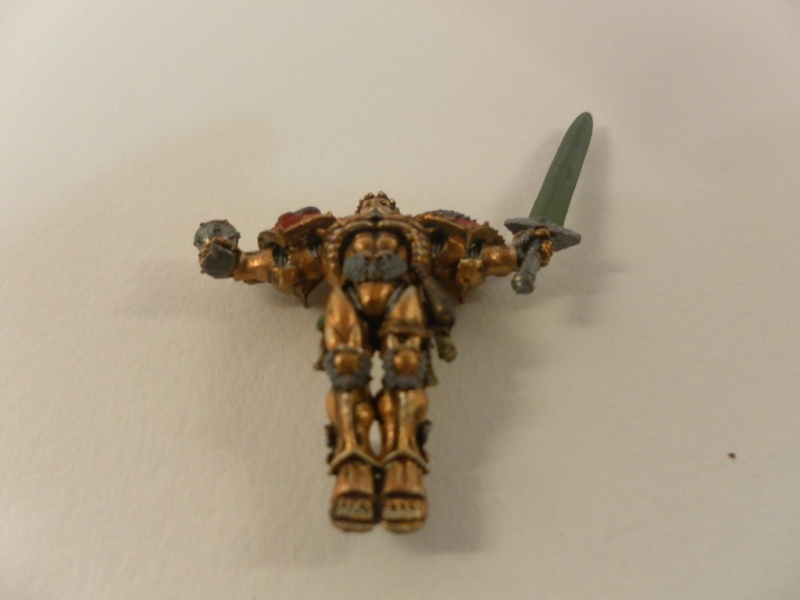
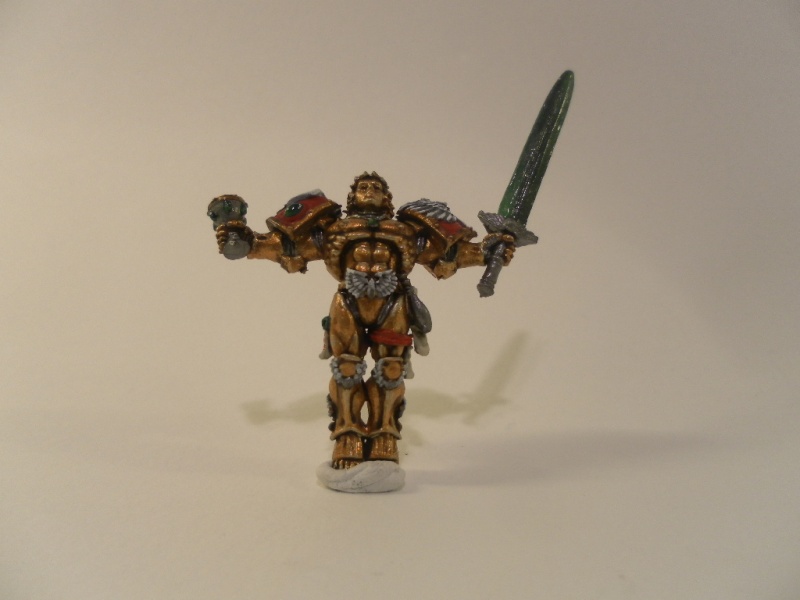
Gold - This was under coated in the base coat brown and then given the usual coat of shining gold.
Paper - This too was under coated in base coat brown.
Silver - Bolt Gun metal was applied
Red - Melachite red was put down
Wash - The majority of the model was washed in devlan mud, ensuring I pooled the wash in the deeper recesses.
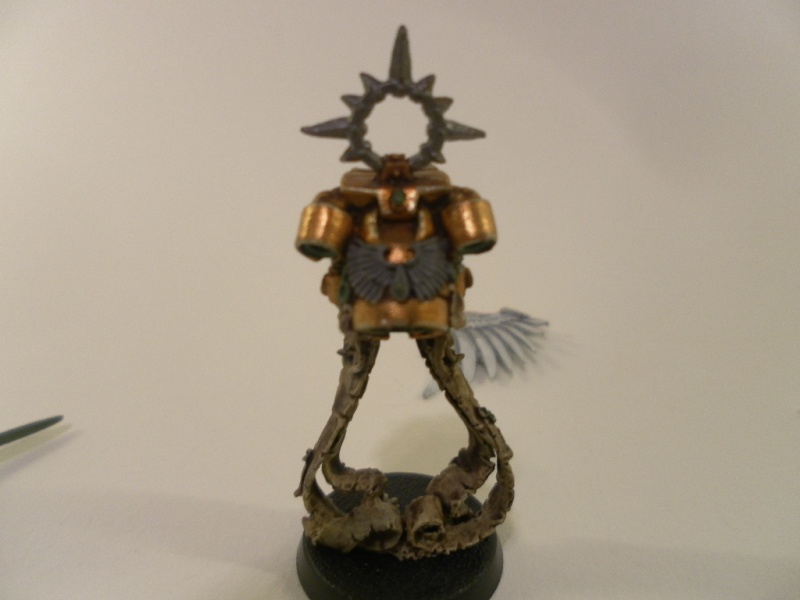
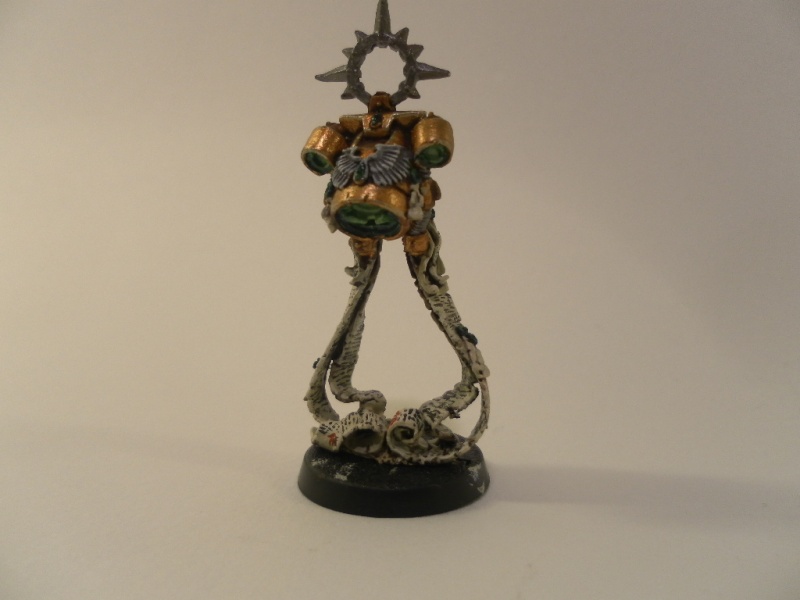
It appears I had finished the wings by this point so I shall go over the gold as I go.
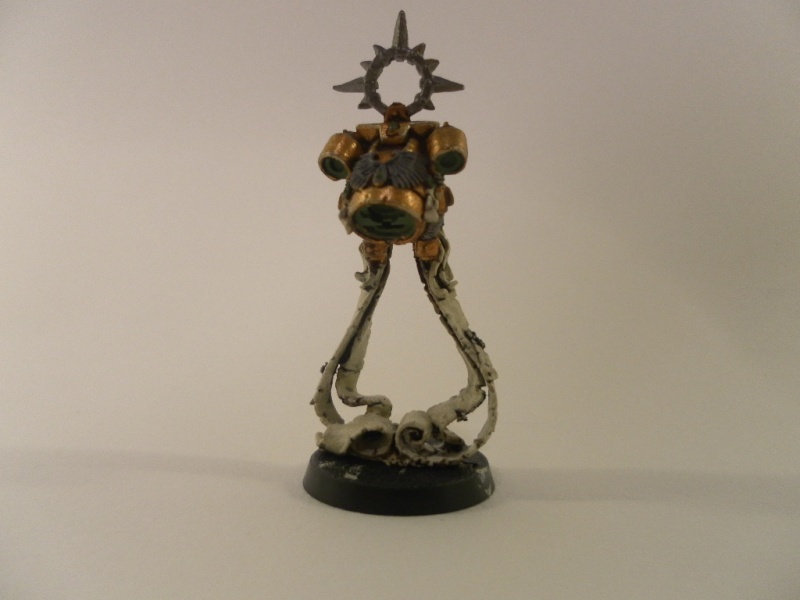
- White. The white was first coated with a dark grey
- Then a medium grey and maybe three other greys before heading to white
- he white was very thinned down to try and promote smooth finish. I also wanted it to be a tad blended. I did feather the grey and I was satisfied that they looked like decent natural gradient.
- I high lighted the tops and the tips with pure white.
Gold - I brought the gold back up with shinign gold. Given the fact this is a HQ and there is SOOOO much gold, I then mixed shining gold and the next gold up (burnished gold I think?). then pure burnished gold. Then Burnished gold mixed with silver and finally pure silver on the extremem edges. Looking at this model I alwaus assumed the light was oming down as if it was a halo.
Green - Base Coat green applied to the gems, the sword and the rocket
Paper - The reason I did the was was to see where it would pool. Knowing where this is helps to show me where the dark areas should be and, more importantly, where they should not be...So I painted using a base tan colour, leaving a few of the darker recesses with the wash inside (for example the curls in the paper at the bottom of the model). I then mixed this colour with bleached bone and started working up. Next was pure bleach bone as a thick highlight. I was going to leave it here but I decided to do an edge high light of white mixed with bleach bone in a 1:1 ratio. I'm happy with how they came out. Which is just as well given how many of the bloody things there are!
Green - This was covered over with dark angels green and giving a green wash. Again, it is for the purposes of showing me where the pooling/shade would be. This was worked up through goblin green, then not green and, finally, some white/green mixed to do show light in the middle. I am not sure if I liked this.
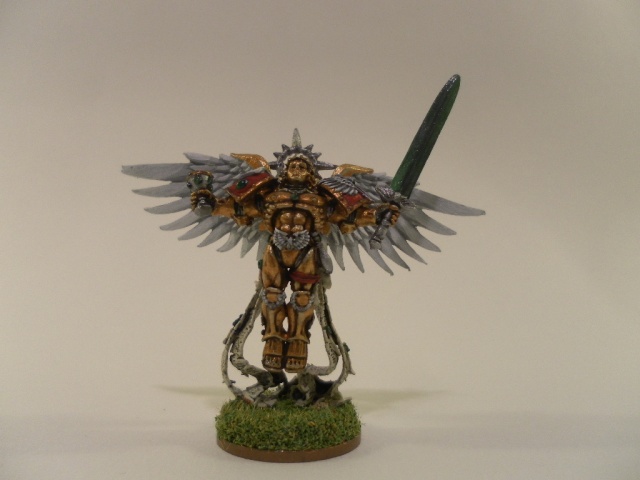
From an angle of the table top I REALLY like it. If you stare straight at it I think it is perhaps too lop sided.
The gems and the purity seals were also done. They had a glaze put over them to help them stand out.
Paper - Time for the writing. OK, so here is my tip of the day - Do not start at the top and work to the bottom!!!! Think of text as it was written in the medieval times. Space marines are as backward s they are in many ways. Start by doing large letters or sections to differentiate paragraphs. Size does not have to be uniform, the colours can change, and it gives you a guide line to work with. VERY thing layers are needed here with next to no pressure.
Next back to the main model. The red was painted up from the base colour to scab red, the blood red. I didn't go higher as I doubted it would fit with the gold. I did a red wash over the top to help deal with the awkward shapes on the shoulder pauldron.
The whites were fixed here as described above and the touch ups were done. Bringing us to the end of the tutorial.
Here is the finished model:
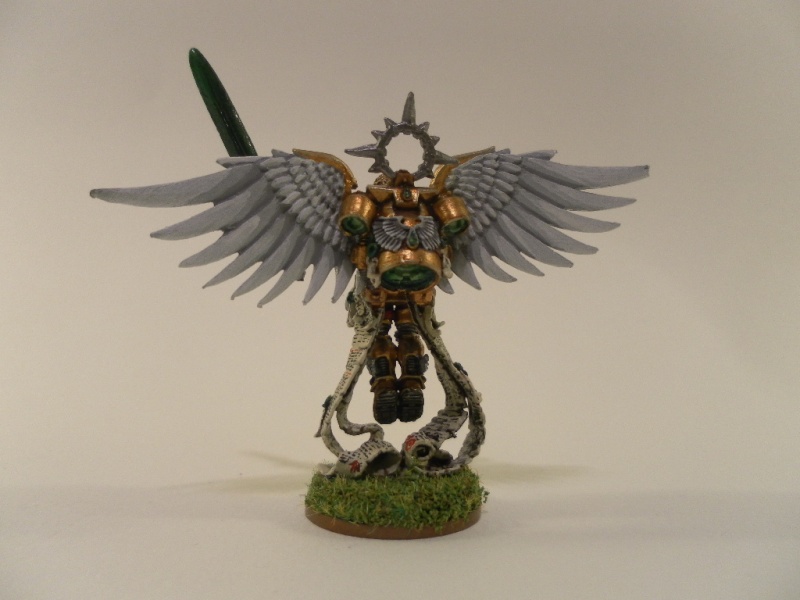

The last thing to note is the base. This is really a tip for those who use metal miniatures. As you will note, they are heavy!! heavy things tips over and can often break off their base if they are too fancy. The main thing to know here is that I glued the base onto a 2p coin. This added weight that I needed. Not only that but, because I added the model after that, It gave the metal something else for the super glue to bond too..... ANY extra strength is a good thing.
Hope you enjoyed this or, maybe learnt something. Let me know if there is anything you can suggest or want further guidance on.
Cheers
T


